Getting started with building a WatchKit app for Apple Watch
Over the last week or so, I took a deep dive into building my own standalone WatchKit app for Apple Watch. Here are some of the things I’ve learned.
If you’re already building iOS apps, taking the dive into building a standalone WatchKit app is really straightforward with the help of SwiftUI. Apple has done a great job of giving developers the tools to integrate a WatchKit app into their existing iOS app, or create a new standalone WatchKit app from scratch, it’s as easy as creating a new project in Xcode, and you’re off to the races!
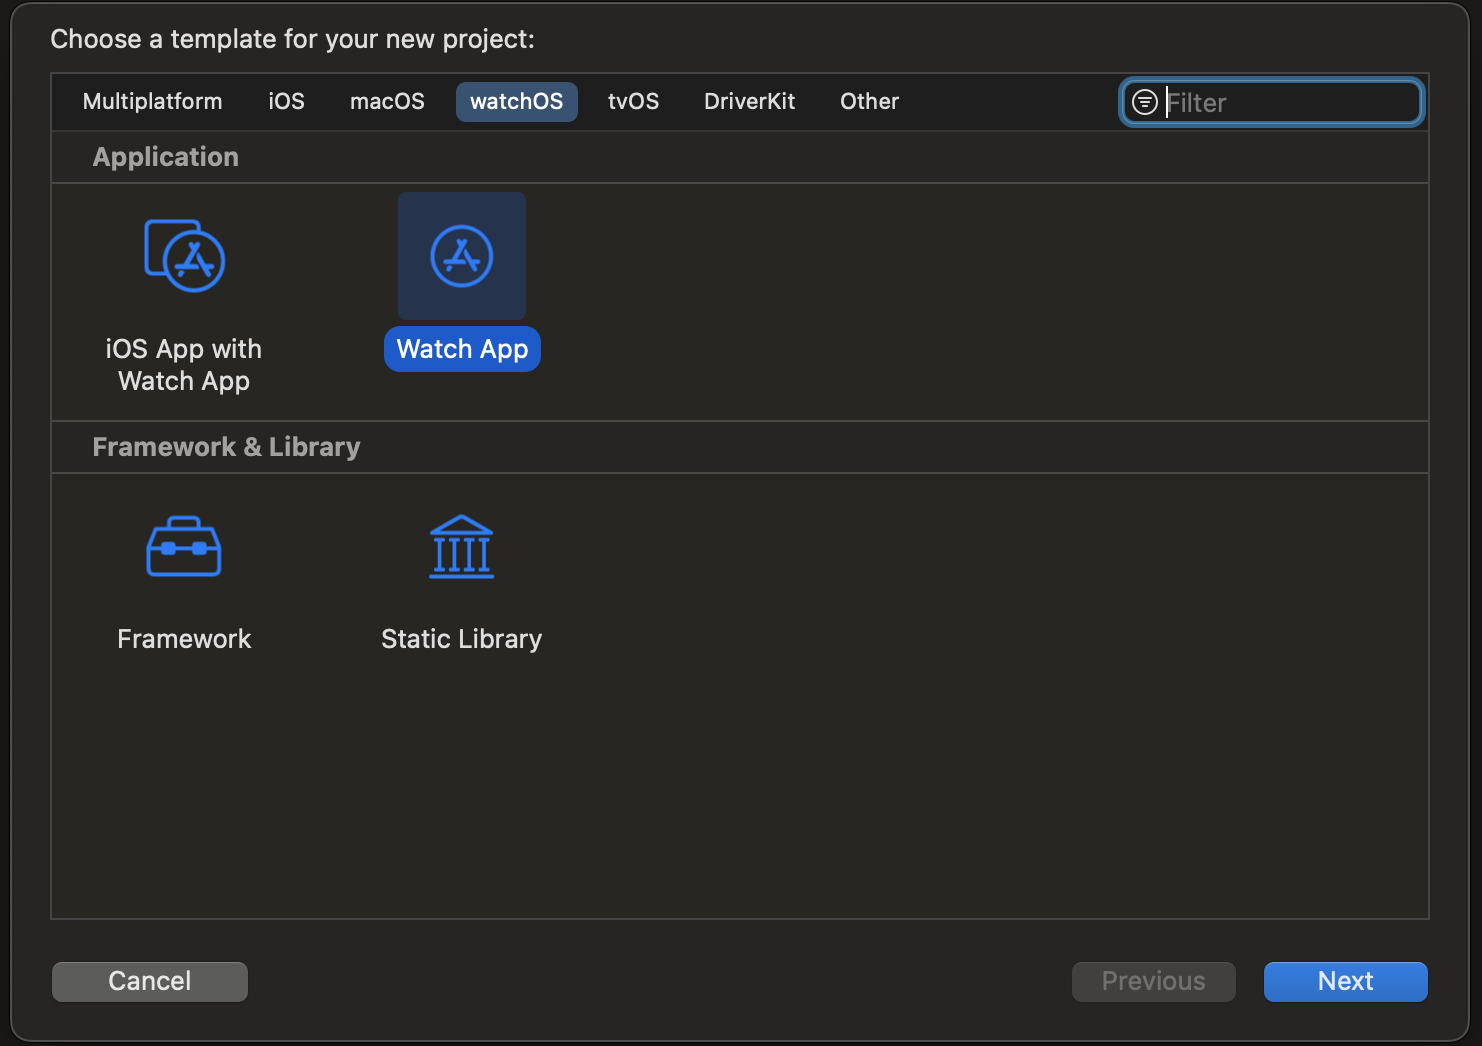
After choosing a template for your project, you’re presented with a .xcodeproj with two folders, a “WatchKit App” folder and a “WatchKit Extension” folder. All of the code for the project template is contained in the “WatchKit Extension” folder, this is described in more depth in Apple’s documentation but the separation is defined as follows.
Xcode divides the watchOS app into two sections:
WatchKit App
An app bundle that contains your watchOS app’s storyboard and any assets used by the storyboard.
WatchKit Extension
An extension that contains your watchOS app’s code.
After you’ve generated a project template, make sure to also be aware of how the bundle IDs for the project are handled.
Xcode sets the bundle IDs for both of the watch targets based on the container’s ID. For a watch-only app, this ID is the bundle ID for the root target. For a watchOS app with an iOS app, this ID is the iOS app’s bundle ID. The root of the WatchKit app and WatchKit extension’s bundle IDs must match the container’s bundle ID. If you change your iOS app’s bundle ID, you must update the other bundle IDs accordingly.
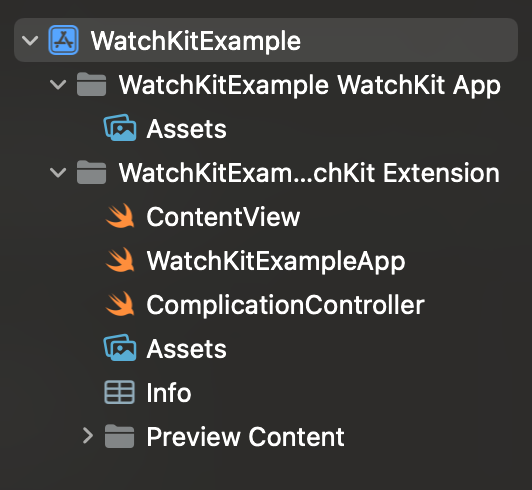
Your “WatchKit App” folder will only contain one file to start, and might only ever contain one file and that is the app’s Assets folder. This Assets folder is used to define the app’s AccentColor as well as the AppIcon.
Your “WatchKit Extension” folder will look very familiar if you’ve built apps with SwiftUI before, as it gives you a ContentView.swift, WatchKitApp.swift, ComplicationController.swift, Assets, and Info.plist.
From here, you can literally build out your WatchKit app as you would any other SwiftUI app, like I said, it is extremely easy to get started with this type of project. To build and run your app, simply select a Apple Watch device from the simulator options that you would like to run your app on and press play! To run your app on a real device, connect an iPhone that is paried to an Apple Watch and select it from the device menu list.
Where things start to differ, is when watch Complications get introduced, to learn more about Complications, checkout my beginner’s guide to understanding WatchKit Complications!
Check out the WatchKit app I built: Ignis - Fuel Price Tracker on the app store!
Subscribe to Norfare
Get the latest posts delivered right to your inbox