How I use a Raspberry Pi with Vue.js and Python Flask to Display Driving Time to Significant Locations
In my previous write-up, I outlined the development of my IoT application framework. The first device that I developed was a kiosk that displayed the driving time to significant locations throughout my day, determined by the frequency of visits through my tracked location data.
As this post is part two of a multi-part series, you can check out the first part here
I had a couple different ideas for IoT devices to prototype, but I figured that this would be the easiest to get stood up quickly. I had already developed some of the basis for my overall smart home framework, and I needed to start integrating applications into it. I had already set up location tracking and syncing with my phone, so all the data I needed was at my fingertips. However, I needed to get some hardware, I already had an unused Raspberry Pi 2 Model B (I would recommend getting a Pi 3 B+ for new projects) laying around that I figured I could use for this project, but I needed a display and some sort of casing for the display and the Pi. For those who don’t know, a Raspberry Pi is a single-board computer, meaning it’s comprised of a single circuit board, with microprocessor(s), memory, input/output (I/O) and other features required of a functional computer. I needed to get a display to show the visual output from the Pi with a decent resolution, so I ended up buying the official Raspberry Pi 7” touchscreen display. If you have a 3D printer, you could print a case off thingiverse to mount and hold your pi/display, but I decided to order a case from amazon, I ended up purchasing the SmartPi Touch case as well to house the display and pi. I also needed a wifi dongle for the pi, as the pi 2B doesn’t have wifi on the board.
My idea with the Pi was to run a Vue.js front-end and a Python Flask back-end on the Pi for the application functionality, all accessed through a web browser, specifically Chromium. I used these tools in this manner because it allowed me to develop everything rapidly and accurately, as each framework would be utilized the same way across different hardware and operating systems. Accessing the application through a browser as well was helpful, as the Pi screen’s resolution could be emulated in development.
Now that I had the hardware I needed, I assembled my pi and plugged in the display. I flashed the latest Rasbian distro, Stretch on my pi and installed Python 3.7, as this was the version running on my macbook during development. For instructions on how to install Python 3.7 on a pi, check out this post from Alauda Projects. I also installed the latest version of node.js and npm to ensure that my environments were synchronized.
After everything was setup, I was able to start developing back on my macbook. First I needed to create a new directory for my project.
$mkdir drivetime
$cd drivetime
The “drivetime” directory contains both the client and server logic, but I needed to configure each independently.
Flask Server
Within “drivetime”, I created a new directory called “server”, then created and activated a virtual environment inside the “server” directory.
$ python3.7 -m venv env
$ source env/bin/activate
I then needed to install Flask along with the Flask-CORS extension:
(env)$ python3.7 -m pip install Flask==1.0.2 Flask-Cors==3.0.7Then, to test that flask was configured properly, I added an app.py to my server directory:
from flask import Flask, jsonify
from flask_cors import CORS


# configuration
DEBUG = True

# instantiate the app
app = Flask(__name__)
app.config.from_object(__name__)

# enable CORS
CORS(app, resources={r'/*': {'origins': '*'}})


# sanity check route
@app.route('/ping', methods=['GET'])
def ping_pong():
   return jsonify('pong!')


if __name__ == '__main__':
   app.run()
We need Flask-CORS to make cross-origin requests, which are requests that originate from a different protocol, IP address, domain name, or port. In order to make these requests we need to enable Cross Origin Resource Sharing (CORS), which Flask-CORS handles for us.
To test that everything was configured properly, run the app with (env)$ python3.7 app.py and point a browser to http://localhost:5000/ping. The response should be “pong”.
Vue Client
I had used the Vue CLI to generate the boiler plate for my client, and the first step use the cli was to install it globally:
$ npm install -g @vue/cli@3.7.0Then within my “drivetime” directory, I initialized a new Vue project called client:
$ vue create clientThe Vue CLI will ask you to choose some configuration settings, but then the client is good to go to run:
$ cd client
$ npm run serve
Navigating to http://localhost:8080 in the browser should show:
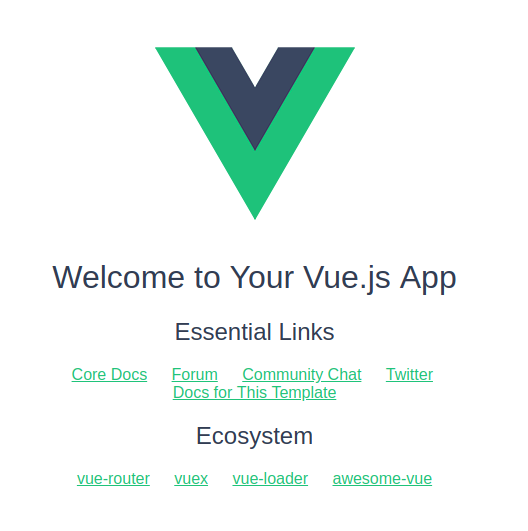
To send requests to my Flask backend, I used the axios library to send ajax requests, a sample method that outlines a standard axios call looks like this:
   getMessage() {
     const path = 'http://localhost:5000/ping';
     axios.get(path)
       .then((res) => {
         this.msg = res.data;
       })
       .catch((error) => {
         // eslint-disable-next-line
         console.error(error);
       });
   }
Calling this function should return “pong” from the back-end, just as it had when we had navigated to http://localhost:5000/ping from the browser. Between the setup shown here, and the setup shown from the flask server portion, the environment was prepared for development.
Drivetime
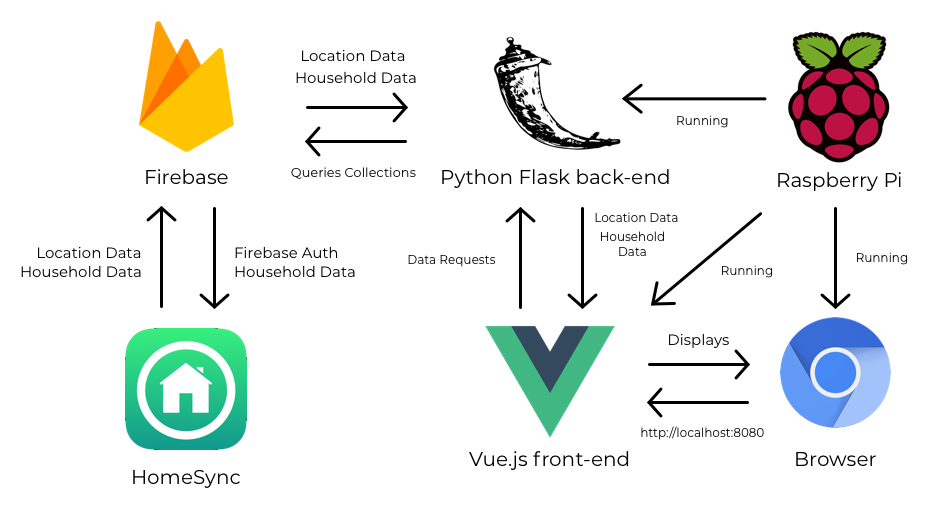
Now let me explain how all of this comes together. In my first post, I talked about using Firebase for the HomeSync mobile app backend, Firebase stores all of the significant location data that is used in Drivetime, that is synchronized from locations tracked on my phone. The Flask back-end stores instances of the Firestore documents in local json format that are relevant to the Drivetime device, determined by what household the pi device is linked to. The Vue front-end, can then send requests to endpoints on the Flask back-end to get the information necessary. Below is a visual representation of the architecture.
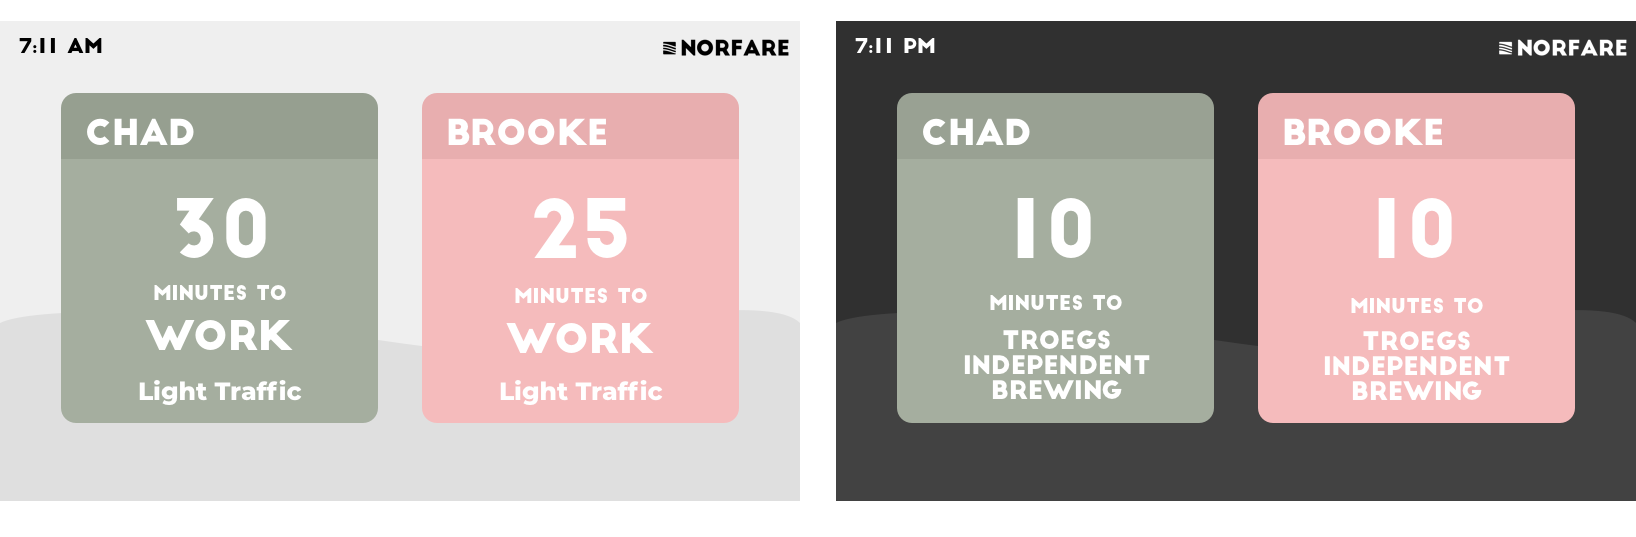
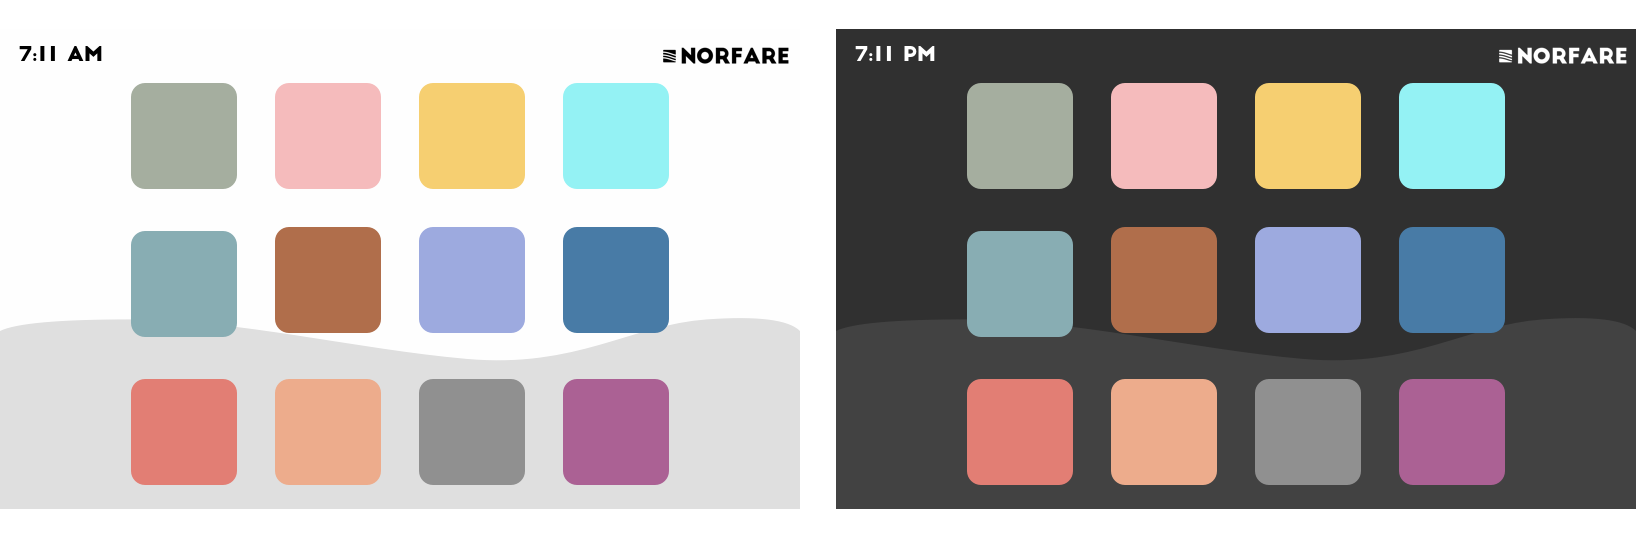
Normally, I like to mock-up the idea that I’m going to be working on before really jumping into any code, putting some time into a strong design and thinking through everything can prevent the chance of writing redundant code and save time in the actual development portion of a project. So I opened up sketch and put together a minimalistic design that I thought displayed exactly what I needed. I decided that I wanted to have some sort of “light-mode” and “dark-mode” that would change depending on the time of day, with an animated wave to give the kiosk some life and I think the mock-ups reflect that pretty well.
In my first post, I had also shown that the HomeSync Drivetime app had a setting for profile color for a user, so I also needed to decide on which colors I would allow. I stuck to a more pastel selection for this project as seen below.
Now that I had a good idea about what things would look like and how they would work, I got to actually developing the application. The Vue front-end consists of a few components like the clock, the user cards, and the overall dashboard that contains everything, and the Flask back-end has several endpoints that retrieve each user card’s necessary information, and the general household information that the device is assigned to. To assign devices to a household, a user enters the device ID in HomeSync when adding an application that requires it, the pi kiosk will display its own unique id until a user adds it in their HomeSync household.
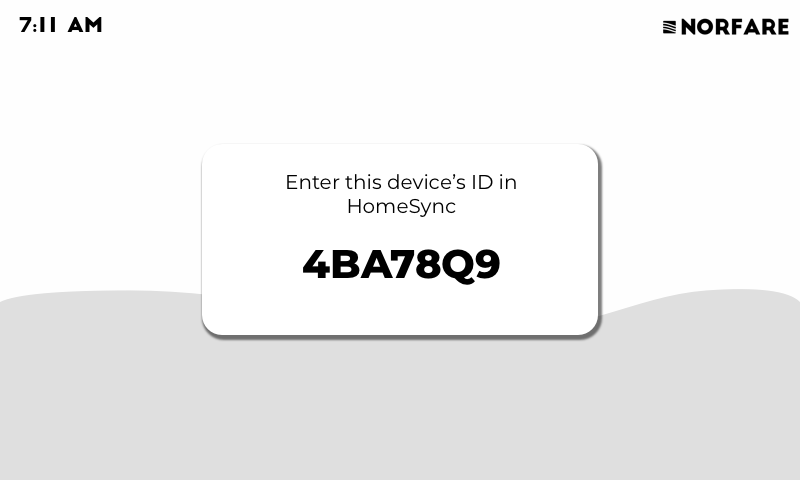
After a user has added the device in the mobile app, the user can sync their location data with the database, and the kiosk will begin to display drive times dependant on time of day, and day of the week. In order to get the driving time to a significant location, I used Google’s distance matrix API, which returned everything necessary to get the driving time between two locations.
I will be improving Drivetime in the future to add some touch interactivity, as my pi display has touch capabilities, but as of right now the kiosk only displays driving times. I’ve also thought about expanding the information displayed to show some graphics on actual driving time based on my device’s location, but that would be a future improvement as well. Overall, this project was pretty entertaining to work on as the first app in my HomeSync framework and I’m looking forward to prototyping even more apps soon!
Subscribe to Norfare
Get the latest posts delivered right to your inbox